Home Assistant automations using Triggers
Welcome to the written guide to accompany the video at https://youtu.be/xFfl53_gGZ8
In this guide we will cover some options that allow you to make your automations more powerful, allowing decision logic.
Standard Home Assistant automations work by the same basic elements. Trigger, condition and action. For simple automations these are more than enough. If I turn on a switch and a lamp is turned off, then it should be turned on.
For more complex automations this can be limiting. What if you want to run only during a particular time period, or want the automation to run differently depending on different input triggers?
We’re going to introduce you to some more advanced methods to make your automations more powerful, using trigger IDs.
Triggers IDs are effectively small variables that you can create to store information about a trigger in an automation. These variables allow you to introduce conditional automations with a wider range of options.
Cooling fan automation
First we’ll take a look at how to improve the fan automation from a previous video (https://youtu.be/N9S7rAP38KE). We previously had two separate automations. One to turn the fan on if the temperature went above 22 degrees, and one to turn it back off if it went below 22 degrees. For a number of automations, this can get messy, so it’s better to have both actions contained in the same automation.
We’ll disable the two fan automations and create a new one.
Click Create Automation, then Start with an empty automation. Give it a meaningful name.
For the trigger, we’re going to select device. To enable the trigger ID field, click the 3 dots and select Edit Trigger ID.
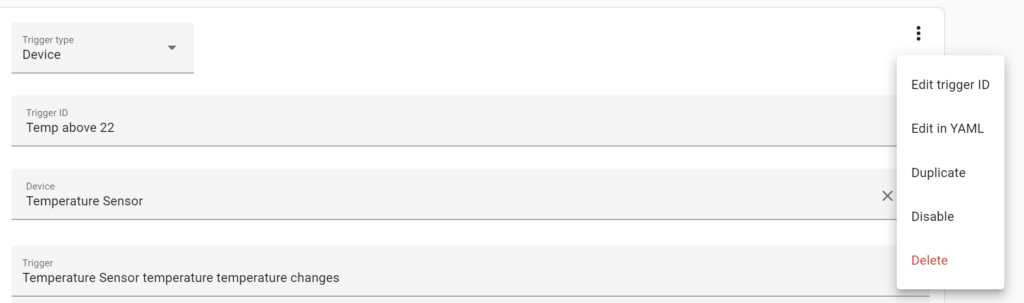
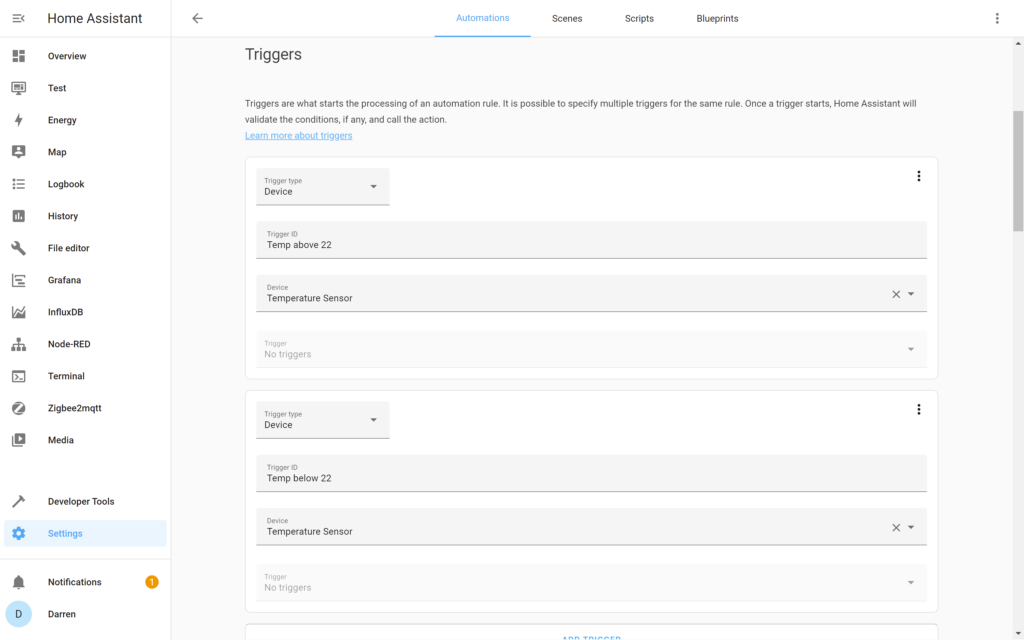
In the trigger ID field, give this a name, in this case Temp above 22. Device is the Temperature Sensor you want to use. The trigger is temperature Sensor temperature temperature change. Above 22 degrees C. We now want to create a second trigger, again for a device. Click the 3 dots and Edit Trigger ID. For the trigger ID we enter Temp below 22. Again select the details as for the first trigger, but this time we want below 22 degrees C.
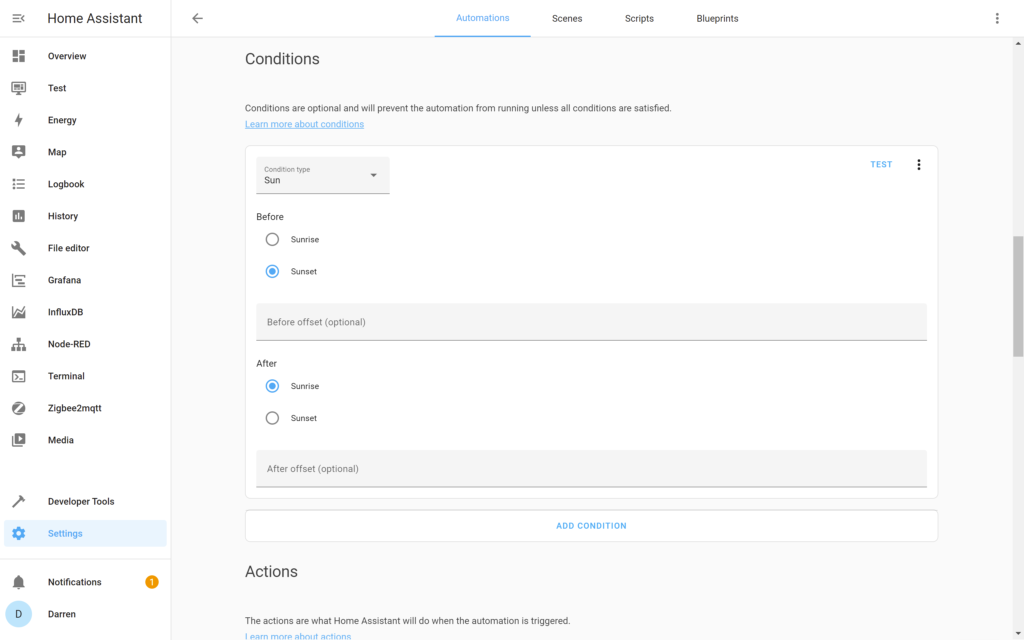
A condition is optional, but lets enter one here to demonstrate how it can be used. For the condition type, select Sun. Select before Sunset and after Sunrise. This ensures the automation will only trigger during the day.
For the action, we are going to use the choose option. This allows the automation to work out which trigger id has been triggered, and carry out the appropriate action.
For Option 1, in the condition type, choose Triggered By. Then in Trigger, select Temp above 22. In the action select Call Service. Select Switch: Turn on. In Targets, click Choose area, device or entity. In this case I chose device and selected the fan.
For option 2, condition type is again triggered by, but we’ll select Temp below 22. In the action select Call Service, but for the service, select Switch: Turn off. Again select the device.

Save the automation.
Both previous actions of turning the fan on and turning the fan off are now in the same automation.
Light automation
We’ll now use this same concept for the Office Light. Previously we used a Blueprint for this, but this is how to do this using trigger IDs.
Click Create Automation, then Start with an empty automation. Give it a meaningful name.
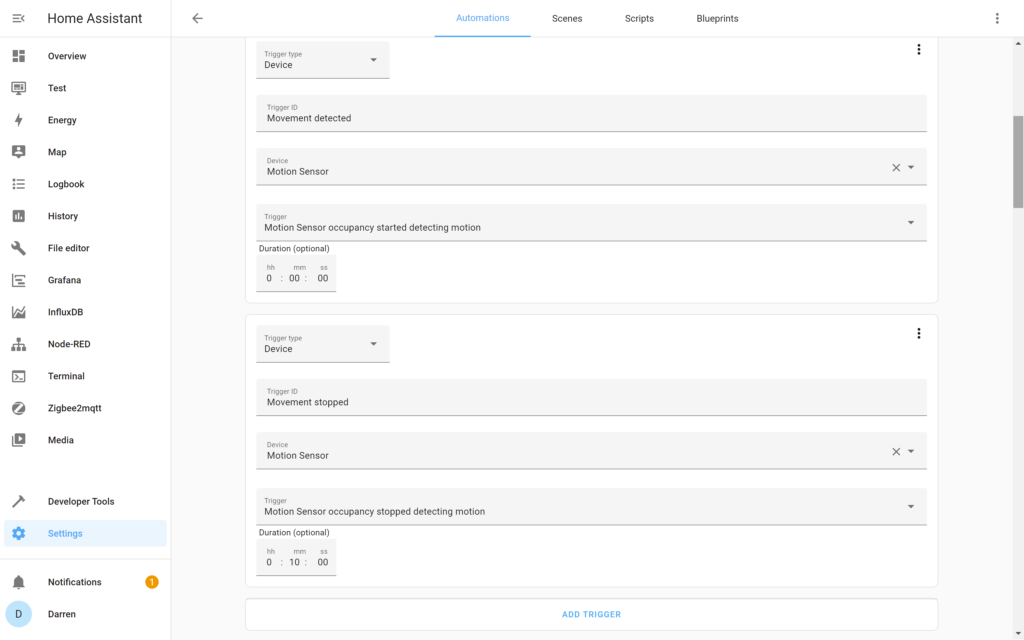
Select Device. Then click the 3 dots and Edit Trigger ID. I called this movement detected. Select the motion sensor, then for the trigger, Motion Sensor occupancy started detecting motion.
Add another trigger. Select Device, click the 3 dots and Edit Trigger ID. Call this movement stopped. Select the motion sensor. For the trigger, Motion Sensor occupancy stopped detecting motion. We’d ideally not want the light to keep coming on and off, so put in a duration – I chose 10 minutes.
For the condition, this can be left blank. Alternatively enter a time period here if you only want the automation to happen at particular times.
For the Actions, select Choose as the Action type. Add a condition. Choose Triggered By. For Trigger, select Movement detected. In Actions, select Add Action. For Action Type, Call service. For service, Light: Turn on.
Select the light that you want to turn on. You can set options such as colour, brightness, flash etc. The default will just turn the light on to it’s previous state.
Add option. Choose Triggered By. For Trigger, select Movement stopped. In Actions, select Add Action. For Action Type, Call service. For service, Light: Turn off.


This should give an introduction to triggers. There are a number of different types of triggers, and we’ll cover these in a future video. For now however, try to create your own for other devices around your house. Let me know what you did, or if you have any questions about using trigger IDs.