Introduction to ESPHome on Home Assistant
In this guide we will cover ESPHome. ESPHome is a tool that allows you to manage ESP boards. These use an ESP32 or ESP8266 microcontroller to interface with external devices and sensors, such as temperature sensors. They allow you to create your own devices to control switches or sense the environment.
The ESP32 is newer than the ESP8266. It has a faster processor and supports Bluetooth. The ESP32 can be used to add a Bluetooth Proxy to Home Assistant. This will be covered in a future guide. This is the first part in a series of articles on ESPHome.
To work out which ESP device is best for you, you need to work out what you want it to do. The ESPHome website contains a lot of information about these devices and how to interface with other sensors and switches. If you need Bluetooth compatibility, the ESP32 device is recommended. If you don’t need Bluetooth, then the ESP8266 is cheaper.
There are many different ESP boards available, here is a selection of these at both Amazon and AliExpress.
ESP32
Amazon:
1 Board – https://amzn.to/3DnHuue
3 Board pack – https://amzn.to/3zuW8P2
5 Board pack – https://amzn.to/3zskVn6
AliExpress:
Per unit (order more or add to your order to get quicker and/or cheaper shipping)
https://s.click.aliexpress.com/e/_DFheXL9
ESP8266 (NodeMCU)
Amazon:
1 Board – https://amzn.to/3UanYrL
3 Board pack – https://amzn.to/3DNiPkg
5 Board pack – https://amzn.to/3SSm1PQ
AliExpress:
Per unit (order more or add to your order to get quicker and/or cheaper shipping)
https://s.click.aliexpress.com/e/_DCrRXcB
Install ESPHome addon
To install the ESPHome addon, from Home Assistant, click Settings. Then Addons, then click Addon Store.
Find ESPHome and click on it.
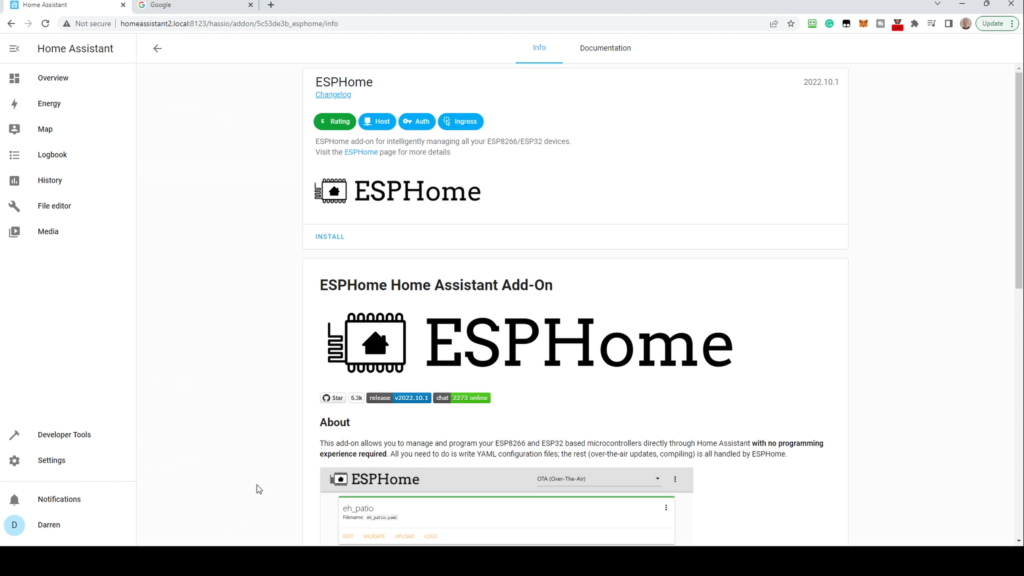
Click Install.
Enable the Watchdog, and if you wish, auto-update and show in sidebar. Click Start. There is no configuration required.
Adding a new device
To add a new ESP device, either click ESPHome in the sidebar or open from the addon.

Click New Device.
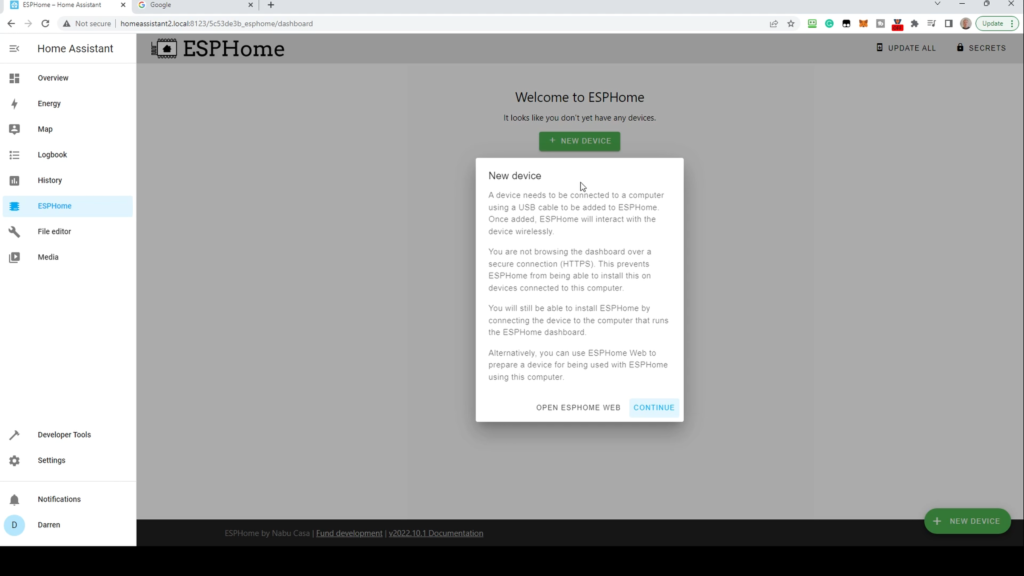
Read the information presented carefully. If you’re not browsing over SSL, you’ll need to connect the ESP device using USB to the device running Home Assistant. If you have an SSL connection, you can connect it to the device you’re browsing from. We’re not using SSL so will click Continue.
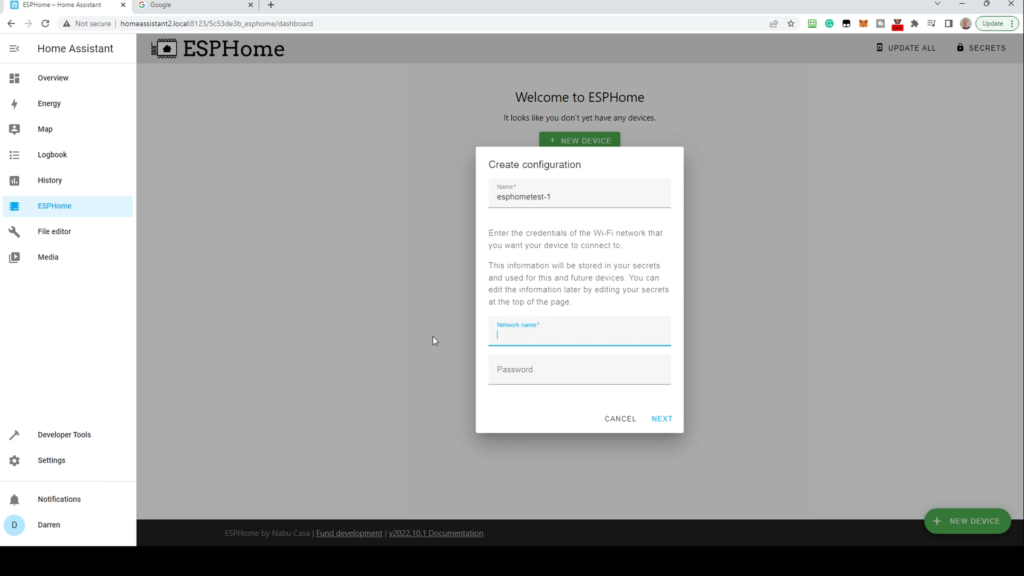
Type a name for the device into the Name field. We’ll call this esphometest-1. If this is the first device you’re connecting, it’ll also ask for your wireless network credentials. Enter them here. You’ll be able to communicate with this device over Wifi for future updates. Click Next.
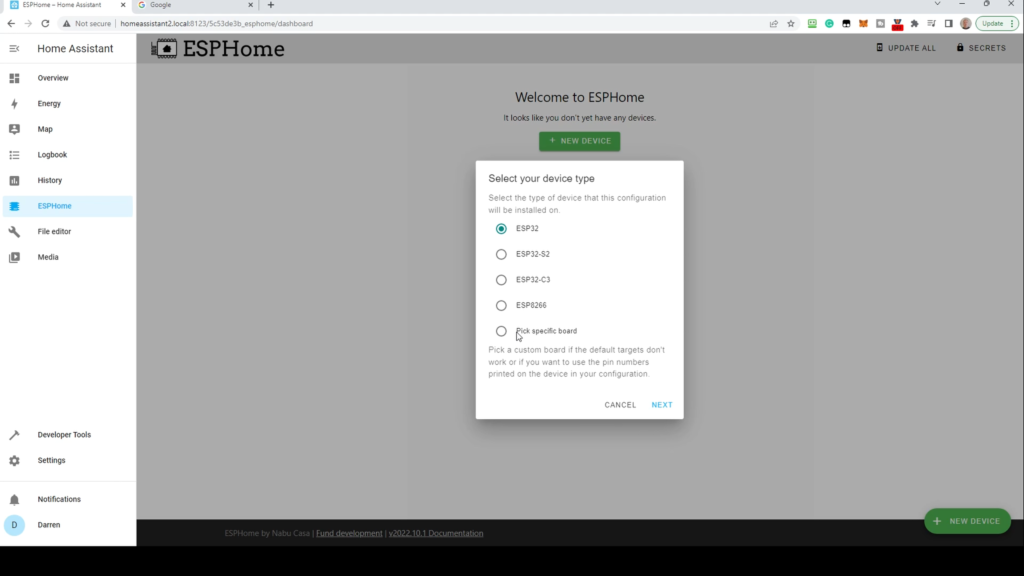
You’ll be asked what device type you have. If you’re not sure, the generic ESP32 or ESP8266 will work fine. If you click Pick specific board, you can pick your own if it’s in the list. In this case, NodeMCU. Click Next
You’ll now be presented with a summary screen.
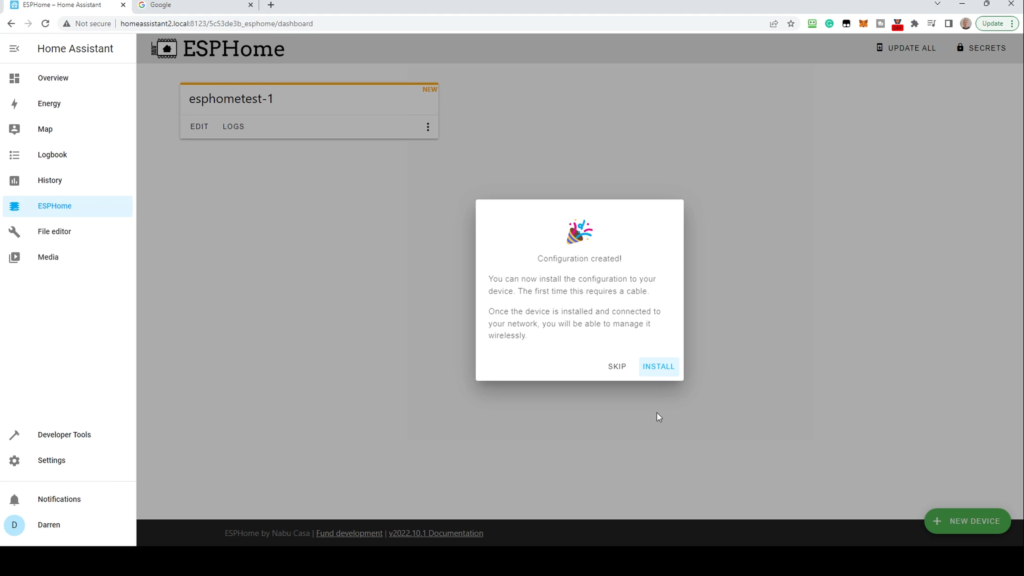
Connect your device if not already plugged in and click Install.
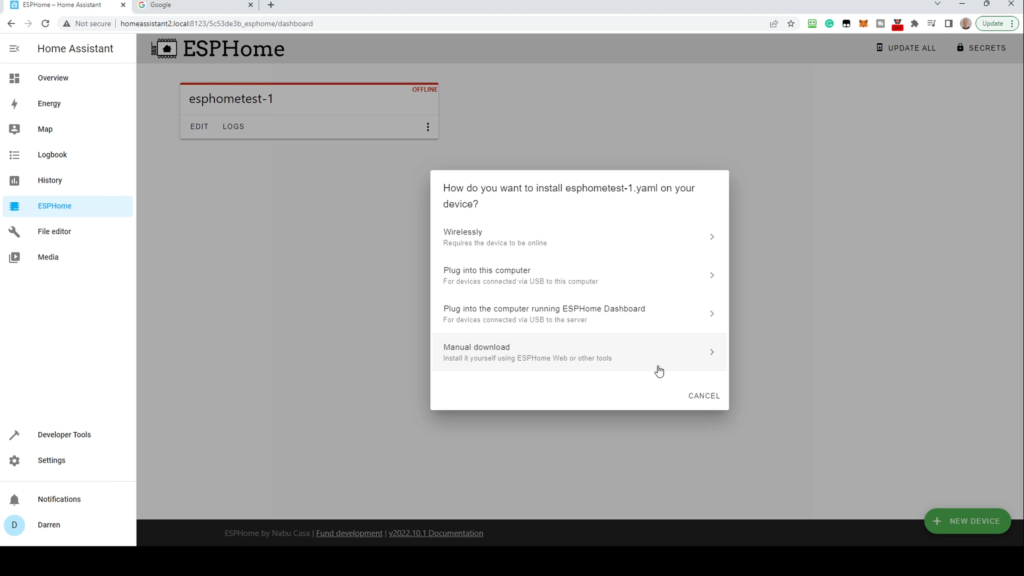
If this is your first time connecting, select Plug into the computer running ESPHome Dashboard, or Plug into this computer if you’re browsing over SSL. For later updates you can do this wirelessly.
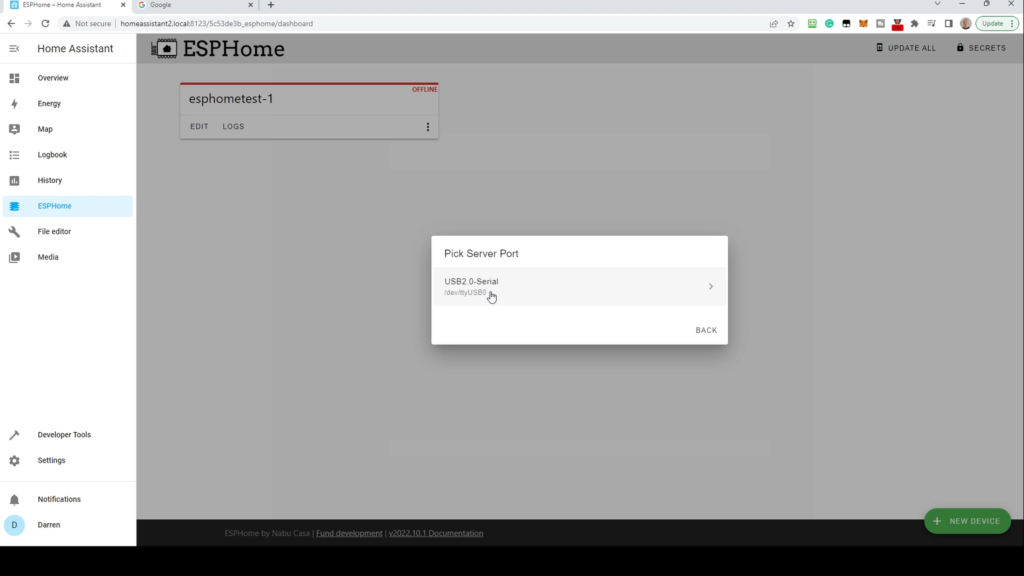
Pick the relevant serial port and click. The installation will now start. This may take a few minutes to install.
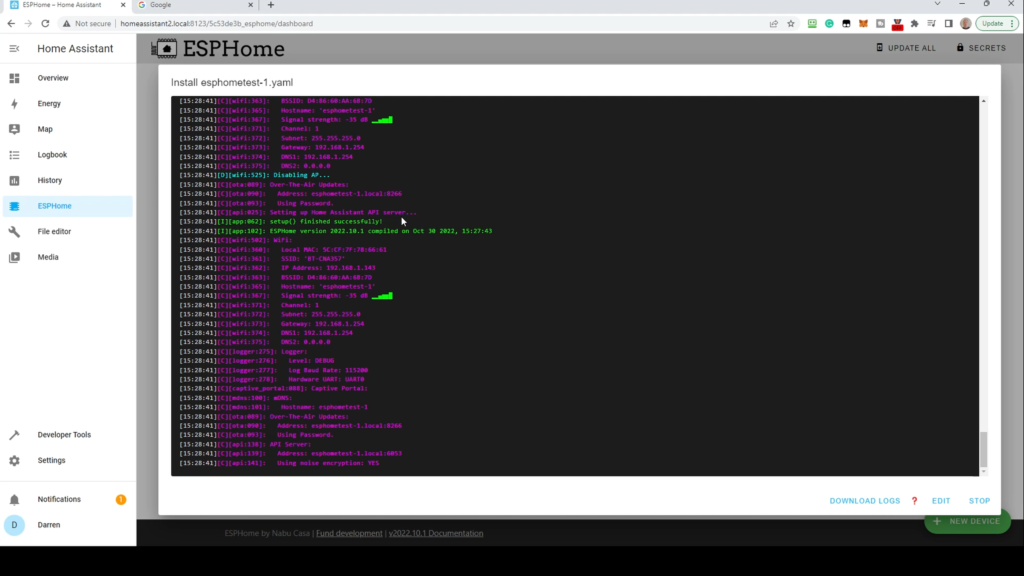
Once complete, you’ll see setup finished successfully partway up the screen in green text. When you see this, click Stop.
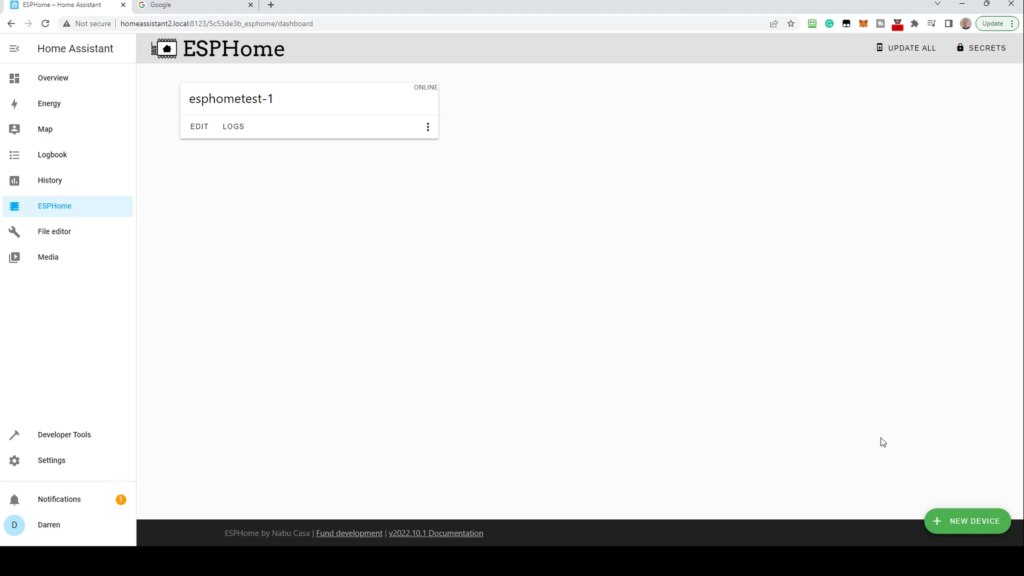
You should see the device in the dashboard showing as online.
Integrating device with Home Assistant
To add the device to Home Assistant, go to Settings and Devices & Services.
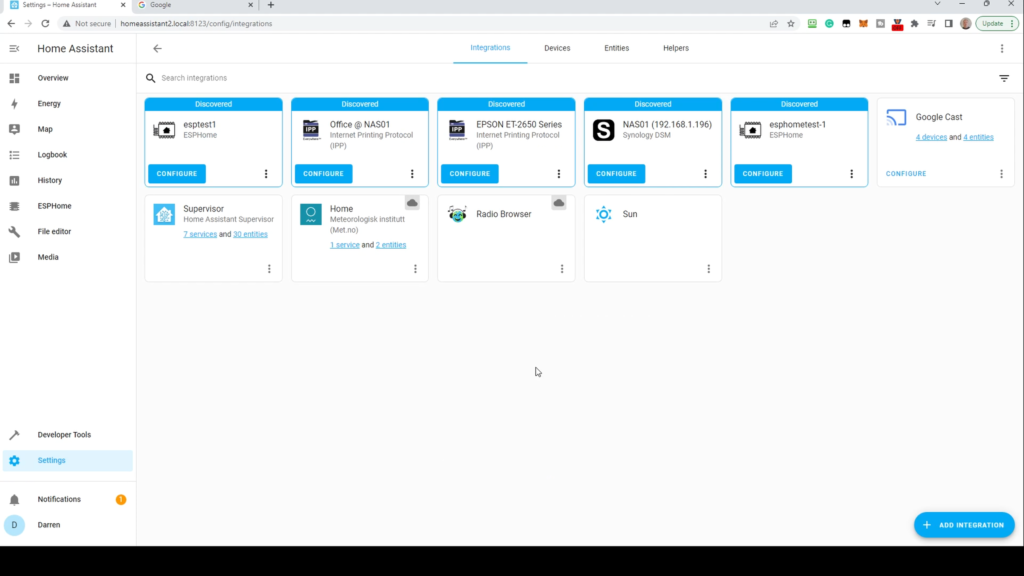
You should see the device detected as shown here, with the name you provided. Click Configure.
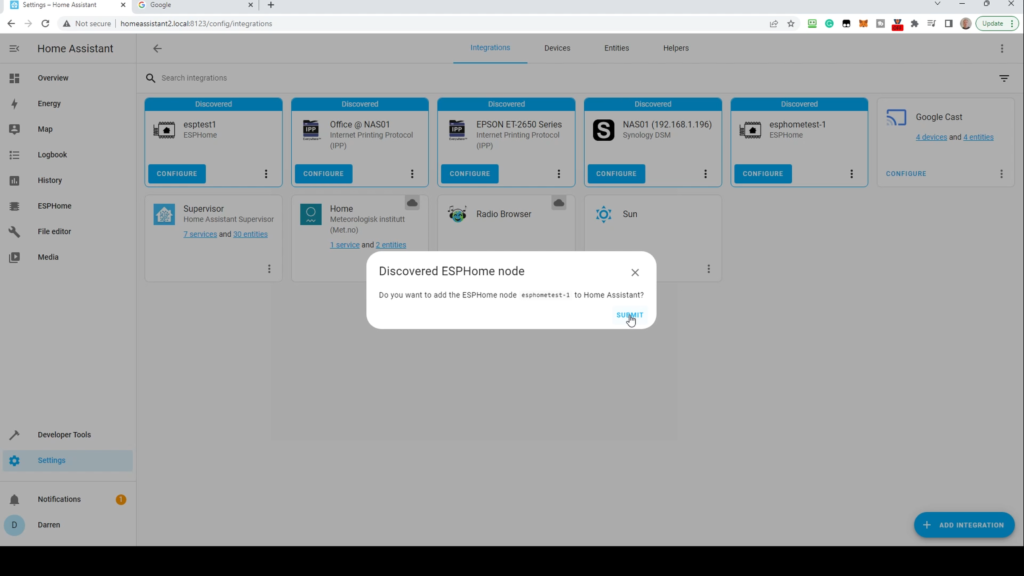
To confirm, click Submit.
If you’re asked for an API at this point, click the X and go back to ESPHome.
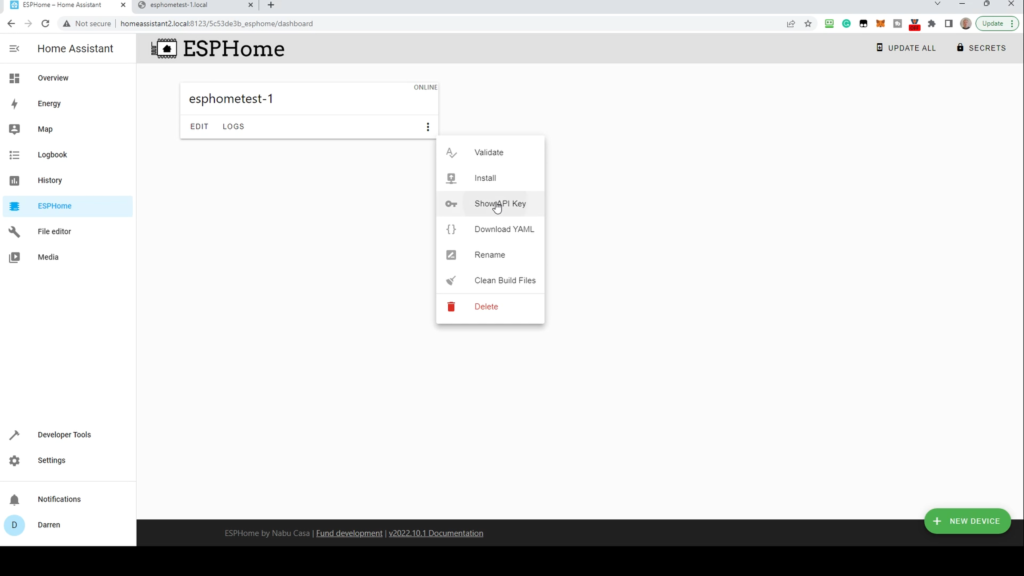
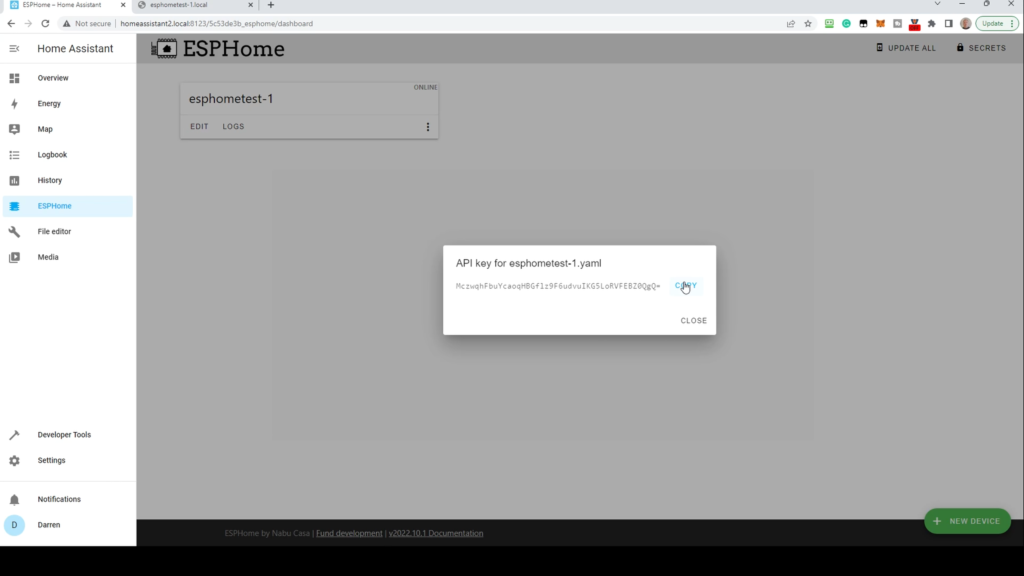
Select the 3 dots within the device box and select Show API key. From the following screen, click Copy, then Close.
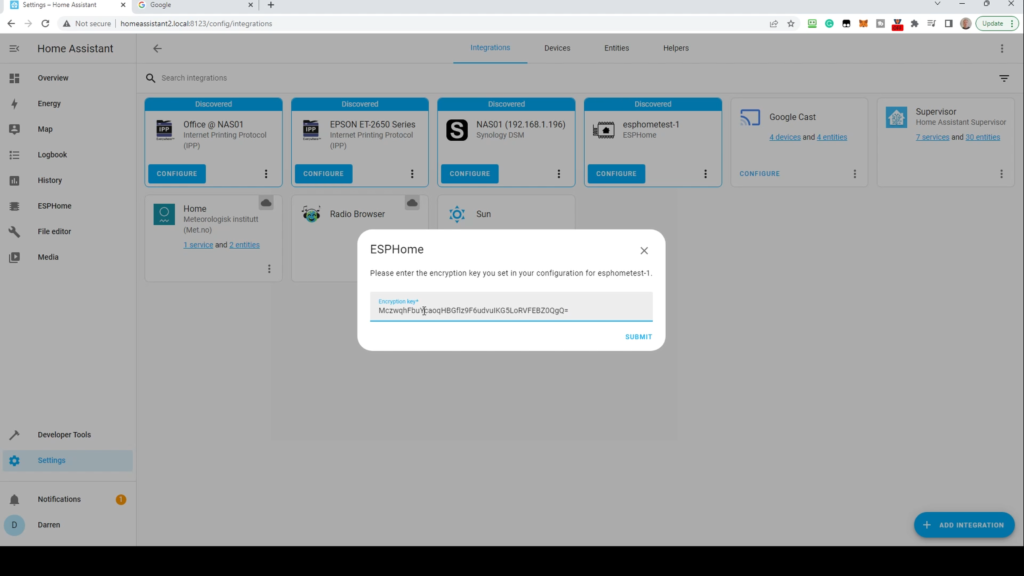
Go back to Settings, then Devices & Settings. Click Configure on the device again, and paste in the API key.
Click Submit. If all is well you should see the Success message.
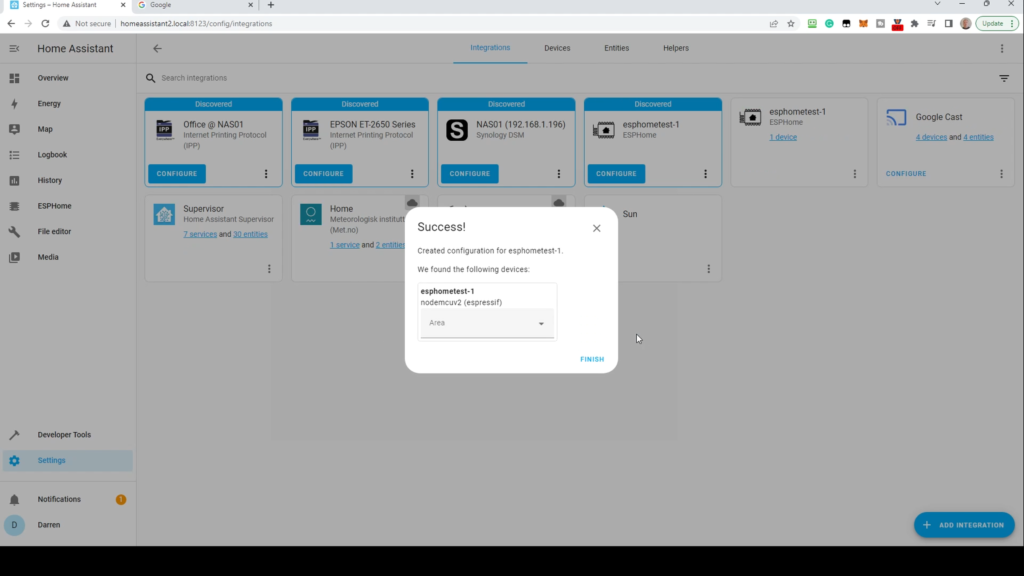
Click Finish.
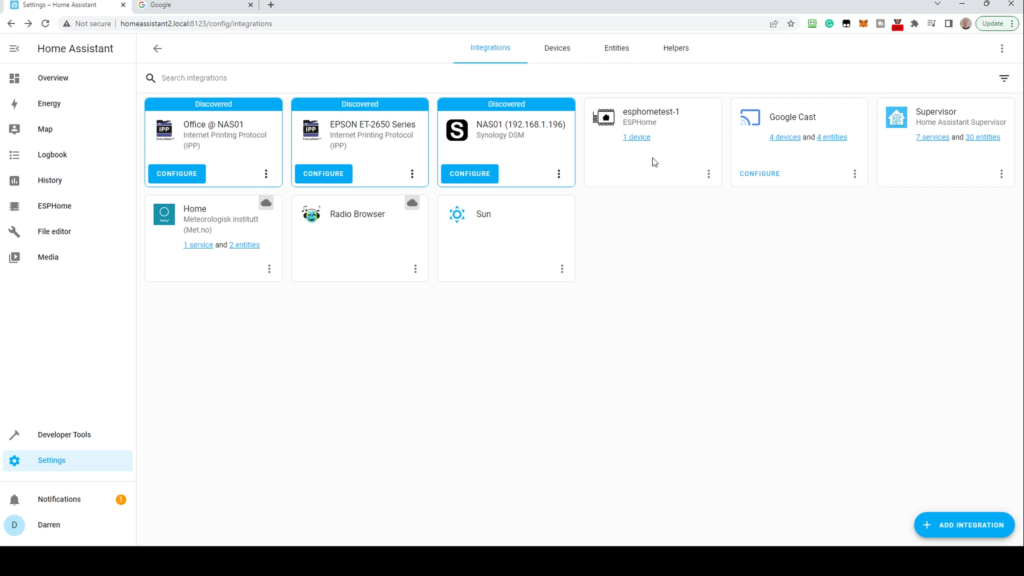
Click the Device link to be taken to the device screen.
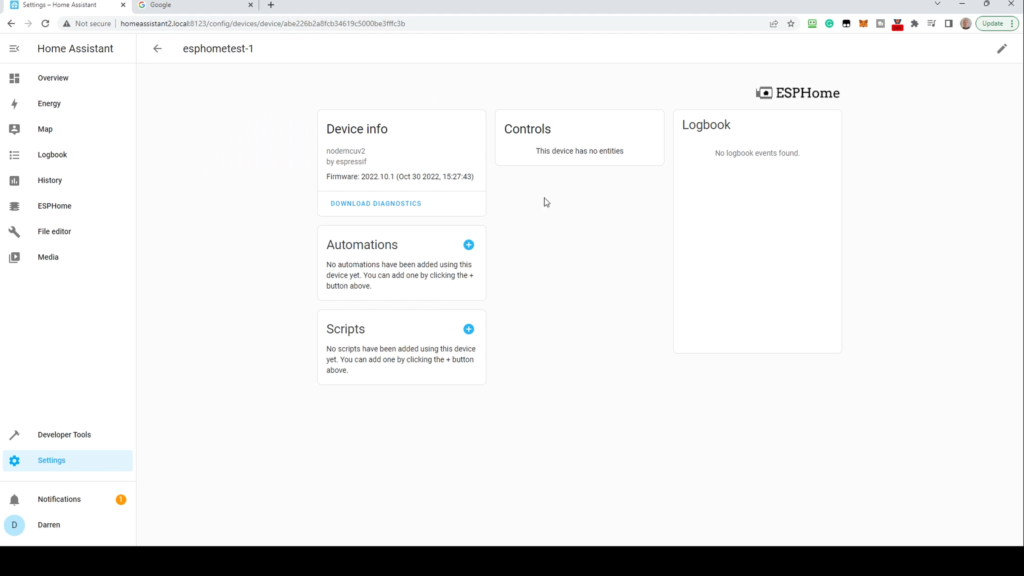
It’s a bit empty at the moment as we’ve not added any sensors or other configuration to the device, we’ll do this in an upcoming article. Once added, any sensors (temperature etc) will be shown here.
Next steps
- Using Sensors and switches you can build your own devices to your own specifications.
- With multiple devices you can set up a multisensor device per room.
- With an ESP32 device you can set up a Bluetooth proxy to either extend Bluetooth range or add the facility if you don’t have this.
- A number of ideas for projects will be covered in future videos.
Thank you for reading. If you wish to help both the website and YouTube channel by supporting us to cover expenses (studio equipment, items for review etc.) please consider helping by using the links below:
Amazon link (as an Amazon associate we earn from qualifying purchases) – https://amzn.to/3fj2S8a
Ko-Fi – https://ko-fi.com/smarthomeaddict
Buymeacoffee – https://www.buymeacoffee.com/smarthomeaddict
Patreon – https://www.patreon.com/smarthomeaddict
Please visit our YouTube channel at https://www.youtube.com/c/SmartHomeAddict
This is also available as a video on our YouTube channel here: