Home Assistant initial setup
All being well, going to homeassistant.local:8123 should bring up the following page:
The user that you create here will be an administrator, and will be able to change anything. You can always add more administrators if necessary however it’s advisable to limit these accounts to only those who will need to change things. Enter your name, a desired username, and a password twice. Make sure the password is secure. Click Create Account.
Next, set your desired location, your time zone and your preferred units. Click “DETECT” to find your location and set your time zone and unit system based on that location. If you’d rather not send your location, you can set these values manually. Click Next.
After a short time, Home Assistant will show devices already on your network that it has detected. Your screen will show different information than shown above, this is just an example. It’s possible that you don’t have any devices installed yet, in this case the screen may be empty. You are able to configure devices if you wish at this point, but it doesn’t matter – you can do this after the end of the setup. Click Finish.
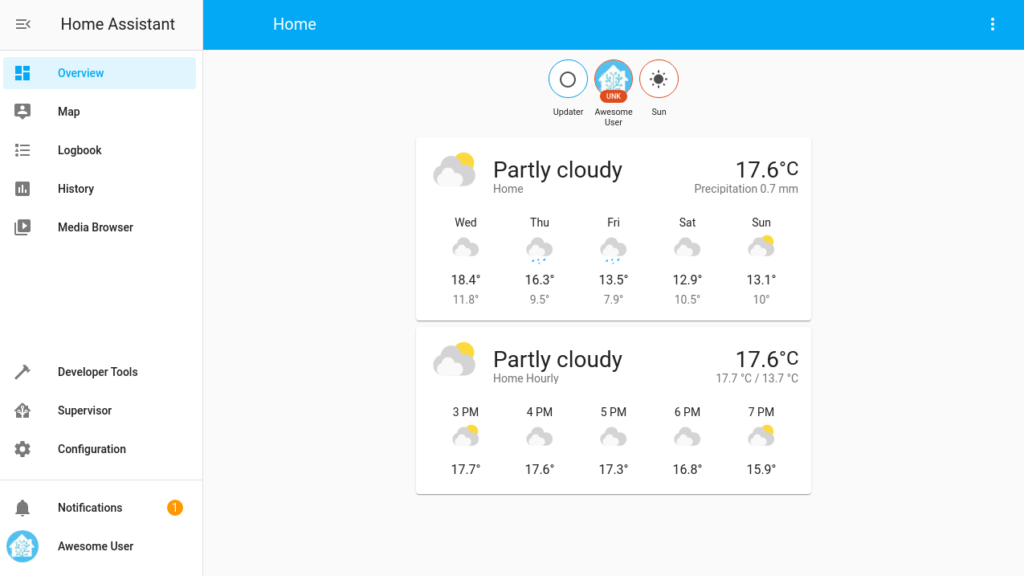
You should now be presented with the Home Assistant web interface. If you set your location earlier, you’ll get the weather for your location. If not, don’t worry.
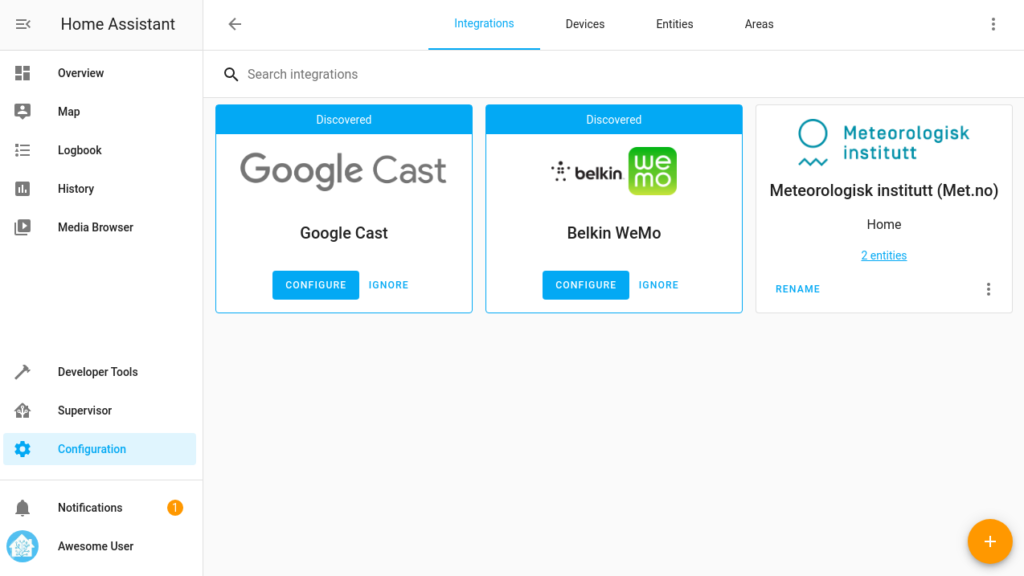
Click on Configuration in the sidebar on the left. On the next screen, click on Integrations. At this screen you will be able to set up integrations with Home Assistant. You might notice a “discovered” section. This section contains integrations that were found on your network and can easily be added with a few clicks. If your integrations are not discovered, click the + button in the lower right and search for your integration in that list.
Again, yours will look different depending on the devices found. Click ‘Configure’ for each integration found, and follow the prompts.
When each integration is done setting up, it will ask you to put the new devices in areas. Areas allow you to organize all the devices in your home and normally represent a room, such as ‘Kitchen’ or ‘Living Room’.
When you’re done, navigate back to the web interface (click on ‘Overview’ if you get lost) and your devices should be ready for you to control.


