Review – Sonoff SNZB02 Temperature and Humidity Sensor
I have just received a pack of two of the above sensors. These were ordered by me, this isn’t a sponsored post nor have I been paid to review these.
My first impressions – these things are tiny. The box is 5cm x 5cm x 2cm (2 x 2 x 0.8 inches). I knew the devices were small, but it’s not obvious until you have one in your hand how small they actually are.

The devices run on the Zigbee communications protocol. This means you need to have a Zigbee hub, or a controller attached to your Home Assistant setup. It will work with Smartthings if you already have this as part of your setup.
The box contains the sensor itself, a small manual, QC sheet and 3M sticky pad.

Looking at the sensor itself, it’s a compact package, with a syncing button on the bottom and sensor holes on the top.
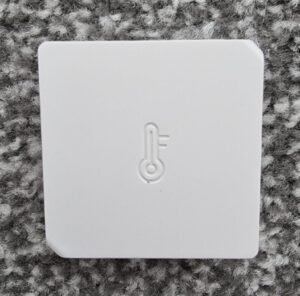

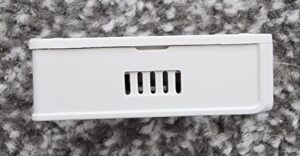
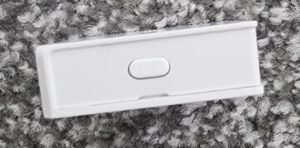
You have the option of installing it using Sonoff’s own app – eweLink. Unless you’re using a Sonoff bridge and other devices, there’s little point – the Smartthings hub or Home Assistant will work with it and you’ll be able to see the sensor readings and act on them in one less app.
The device comes with the battery isolated using a tab. This is to prevent the battery from running flat during transit. To remove this, you need to open up the sensor. It’s not difficult but it is fiddly, you may need a small flat headed screwdriver or you might be lucky and it’ll separate with finger pressure.
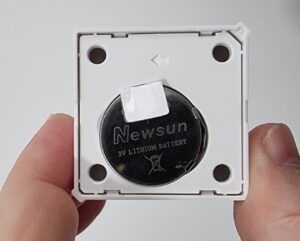
Be very careful removing the plastic tab. It covers the bottom of the battery, so when you pull, the battery will come out with it.
The battery is a standard lithium CR2450 button cell battery. These are relatively cheap and easy to obtain so it’s wise to keep a small number of spares, particularly if you’re planning to install a number of these devices.
Installation in Smartthings
To simplify this review I’ve installed the temperature sensor using Smartthings. I will write another post describing the process to add to Home Assistant.
First, open up Smartthings.
From the top of the screen, click on the plus symbol “+”.

Click Device.
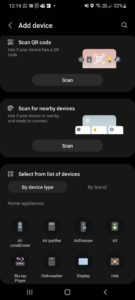
You will search for the device next. However, before you do, get the sensor and press the button on the bottom of the unit for 5 seconds. When it’s in pairing mode, a light on the front should flash. When you’ve done this, click “Scan for nearby devices”.
After a short time, the device will be detected and will show up in the following screen.
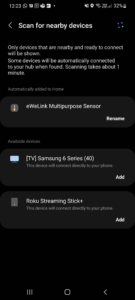
If you want to, you can rename the device now. I renamed mine later. Once the device has been detected, Smartthings will put it in your home with no room assigned.
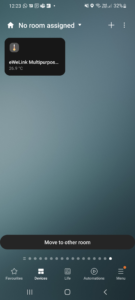
If you press the sensor tile, it will then display the data associated with the sensor.
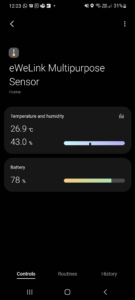
I’ve checked the sensor with other devices that I know work well, and the temperature is comparable. It’s warm in the above screenshot as I was testing it, at the moment it’s showing a steady 20.3 degrees. Another device in the same room is showing 20.1 so it’s reasonably accurate.
Conclusion
The sensor is small, unobtrusive and reports reasonably accurate readings.
The build quality isn’t bad, however some more thought could have gone into the battery compartment/blanking piece as I can see people losing batteries very easily. Not good if you have pets or small children.
Overall I’m happy with the product. It integrates well with Smartthings and Home Assistant.